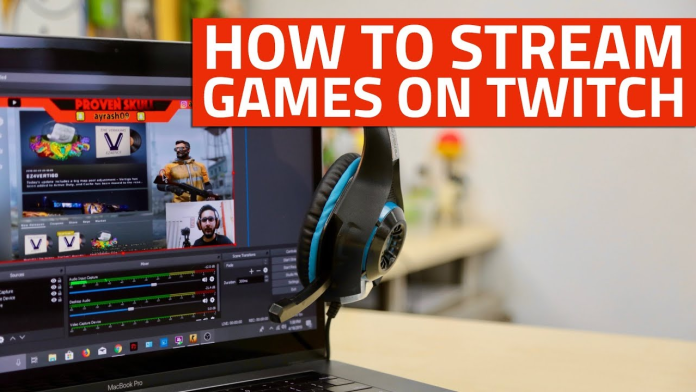
To start streaming on Twitch, one should have access to a computer or laptop or a console and a twitch account.
Then it would help if you had broadcasting software. So you can use either OBS studio or any different kind of software.
Stream labs OBS is ten times better than regular OBS. So go ahead on over to streamlabs.com. If you don’t have a Twitch account, you can quickly make it by providing some of the necessary credentials. The application offers a user-friendly interface and is relatively easy to use.
Streamlabs and the Streaming
Once you’re on streamlabs.com, go ahead and download the EXE, and so once, you get to this page. Then you’re going to connect your Twitch account.
Do not hit the skip on at the bottom because that will cause problems for you only.
Now go ahead and click on the Twitch icon and then go ahead and log in with the Twitch account that you made. Here, you will have two options: login or sign up. If you do not have a Twitch account, you can sign up and create a new version within a fraction of a second.
Then you have to follow up with the verification step in the OTP format that you need to verify to proceed further.
Once you’re all verified, you have to click authorize, and it will approve stream labs OBS to connect to your twitch account.
The setting of the webcam
For setting up the webcam, you can use the free version. It’s going to do everything that you need. Now click start fresh, and then on the right, you can start setting up your webcam. Before that, pick a theme that will give you a couple of screens.
OBS is that you can have it auto-optimize all of your complicated technical settings. So that way, it does it all for you, so it will test your internet speed and bandwidth and your computer hardware to give you the best results for your streams.
Stop forcing all pop-up notifications.
Now everything is set up, and it is going to be good. You don’t want to skip logging into your twitch account because you won’t see any of the widgets on the right side of the screen if you do that.
Once your screen is shared with the audience for streaming, all notifications from all the applications are made accessible to the entire audience.
So it is essential to stop the notification, at least for the streaming time.
You won’t see the alert box; you’ll see the standards, all right.
Now sources are the things that will pop up on the screen, so go to capture the game. Go ahead and boot up any game. Then go back into stream labs OBS. You won’t see anything because you are not charging, so click on the plus button, click display capture, add source, and add a display capture.
This will show everything on your screen.
So if you click on the game, you will see the game right there on display.
Selecting a desired game for the Stream
Click on Game Capture source and then add a game source, and then you can leave it autonomous for the time. It’ll automatically pick it up. Click on the select option and then capture a specific window, and then under the window, you can click on whatever game you’re trying to play.
So you can use either of those options game chapters, or display capture will work most of the time. So now you have to make sure that your game is getting audio. If you have a microphone, does it go under Mike slash auxiliary device one and then go ahead and find whatever microphone you’re using?
Select game audio, and you have your mic audio. Now you can hear both the sounds.
At last, add a webcam. To add a new source video capture device, add source and then add a webcam.
Popping up the boxes
Now how to pop up your boxes? So anytime you get a follower, you need a sub for anything
Then it would help if you had to click outsource and go to the go alert box. Then add source and then add new source instead of the alert box. so now all these different things enable all of the generic stuff.
So, if you click test widgets, a follow, then the generic one will pop up whatever the default is.
If you want to click on the following, you can change the customization and how it looks but messaging with the settings.
Providing the title for the stream
Now write the title message and all the stuff for the font; click on media. You can change what pops up and what sound pops up. Then you can go ahead and test those either in there, or you can go to the bottom right click test widgets and then click follow, and now you can see that any time.
You need to check and ensure the alert box is the very first thing than every other thing else. Otherwise, you’ll be unable to see it because everything else can cover it up. You can now hit the ” Start Streaming” option in your game.
Now you are done with the title, everything you want to put in there, then hit confirms and go live; go ahead to your twitch page, and you will be live and can stream your favorite game. Your stream will be displayed by the name you write in the title column of the stream.
You can also engage with your audience with the help of live chat options available in the stream itself. You can answer your audience while streaming only and can take their suggestions and comments too.
For more about streaming on Twitch, read here: https://twitchviral.com/blog/how-to-stream-on-twitch/


